Topics for v2.x
Topics for v1.x
Creating a spectrum fire
In this tutorial we are going to learn more about shaders and how just a few lines of shader code can make wonders. We do this by creating a fire effect that moves to the music.
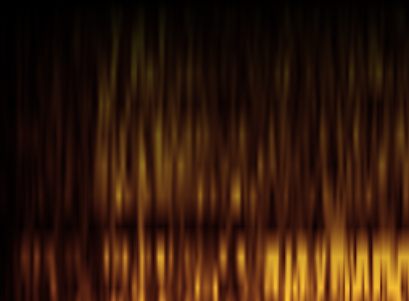 (This looks a lot better when moving so imagine it all firey and moving to the music)
Start the editor by going to the start menu->Programs->Plane9->Scene editor.
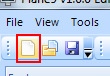
Create a new scene by either clicking on the File->New scene menu or on the blank paper icon.
A scene that have a few nodes already created for you should now show up.
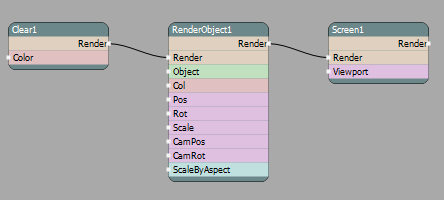
Right click on the RenderObject1 node and select delete
Right click on the Scene1 nodes Render port and choose to create a RenderRect
Attach the Clear1 nodes Render port to the input (Left side) Render port on the newly created RenderRect1 node
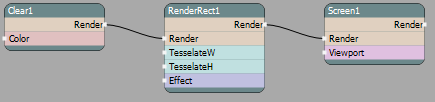
Right click on RenderRect1 nodes Effect port and choose to add a Shader node
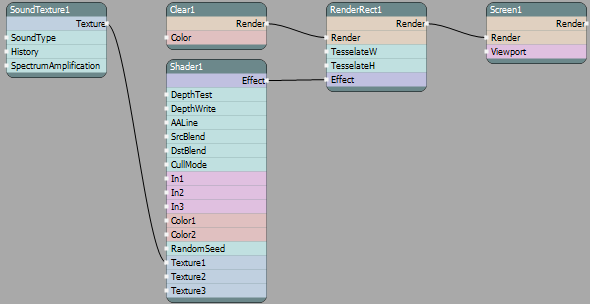
Right click on Shader1 nodes Texture1 port and create a SoundTexture node. Now we have all the nodes we need.
The scene window should now look like this
Make sure you have music playing in the background before continuing. From winamp, spotify or any other music player
- Select the Shader1 node. Change the 'PS_Program' part of the shader so it looks like
float4 PS_Program(PSInput pi) : COLOR
{
	return tex2D(tex1, pi.tex)*pi.diffuse;
}
Currently not much is seen on the screen even though we are now rendering the spectrum texture. This is because the amplitude of the values we get from the sound texture are a bit too low so lets increase them.
- Select the SoundTexture1 node and set 'Spectrum amplification' to 15.
Now you should start to see a spectrum moving from top to bottom. If not make sure you have music playing in the background. You can also try a different music player then restart the editor and see if it works then.

- But a fire doesn't move slowly upwards. Its fast so lets fix that by reducing the number of history samples we store in the sound texture. Change the 'History' port value to 10. What we have done now is to reduce he height of the texture. This gives the appearance of a fast moving effect.
- Now we need to adjust the color. Select the Shader1 again and change the shader so it becomes
float4 PS_Program(PSInput pi) : COLOR
{
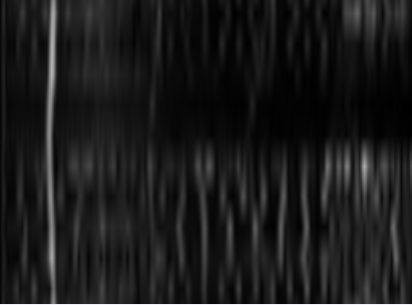
float v = tex2D(tex1, pi.tex).r;
return float4(v,v,v,1);
}
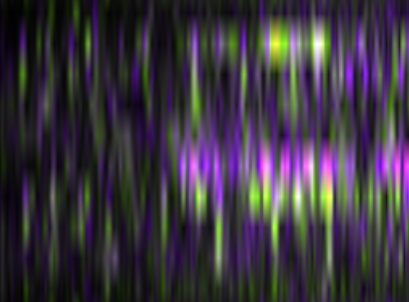
Now we get the 'red' component from our sound texture. But the sound textures red component doesn't actually contain a red color value. Instead its the sound spectrum's mono value. In the green we have the spectrum of the left channel and the right channel exists in the blue color. This is why the above image is in color. We take the mono value and output it as a float4 value. So we set the red, green and blue to the same value with a 1.0 for alpha to create a gray scale image
- But this is gray and we need some firey color. We use the included shader function that converts a HSV value to a RGB value.
float4 PS_Program(PSInput pi) : COLOR
{
	float v = tex2D(tex1, pi.tex).r;
	return float4(_hsv2rgb(v*0.12,0.8,v),1);
}
So we feed the mono spectrum value into the hsv2rgb function and we get a RGB value out. The red color is at the start of the hue so we just multiply the spectrum value with a small value to keep it in range.
- Lastly we need to fade out the fire at the top of the screen. This is done by multiply with the Y coordinate of the texture. Since it's 0.0 at the top and 1.0 at the bottom of the screen. So the finished shader becomes
float4 PS_Program(PSInput pi) : COLOR
{
	float v = tex2D(tex1, pi.tex).r;
	return float4(_hsv2rgb(v*0.12,0.8,v)*pi.tex.y,1);
}
and we have the final result we where looking for